Subscribers
Manage all AirMail newsletter subscribers in one place — add contacts, import lists, apply tags, and track engagement across every site in your account.
Key Features
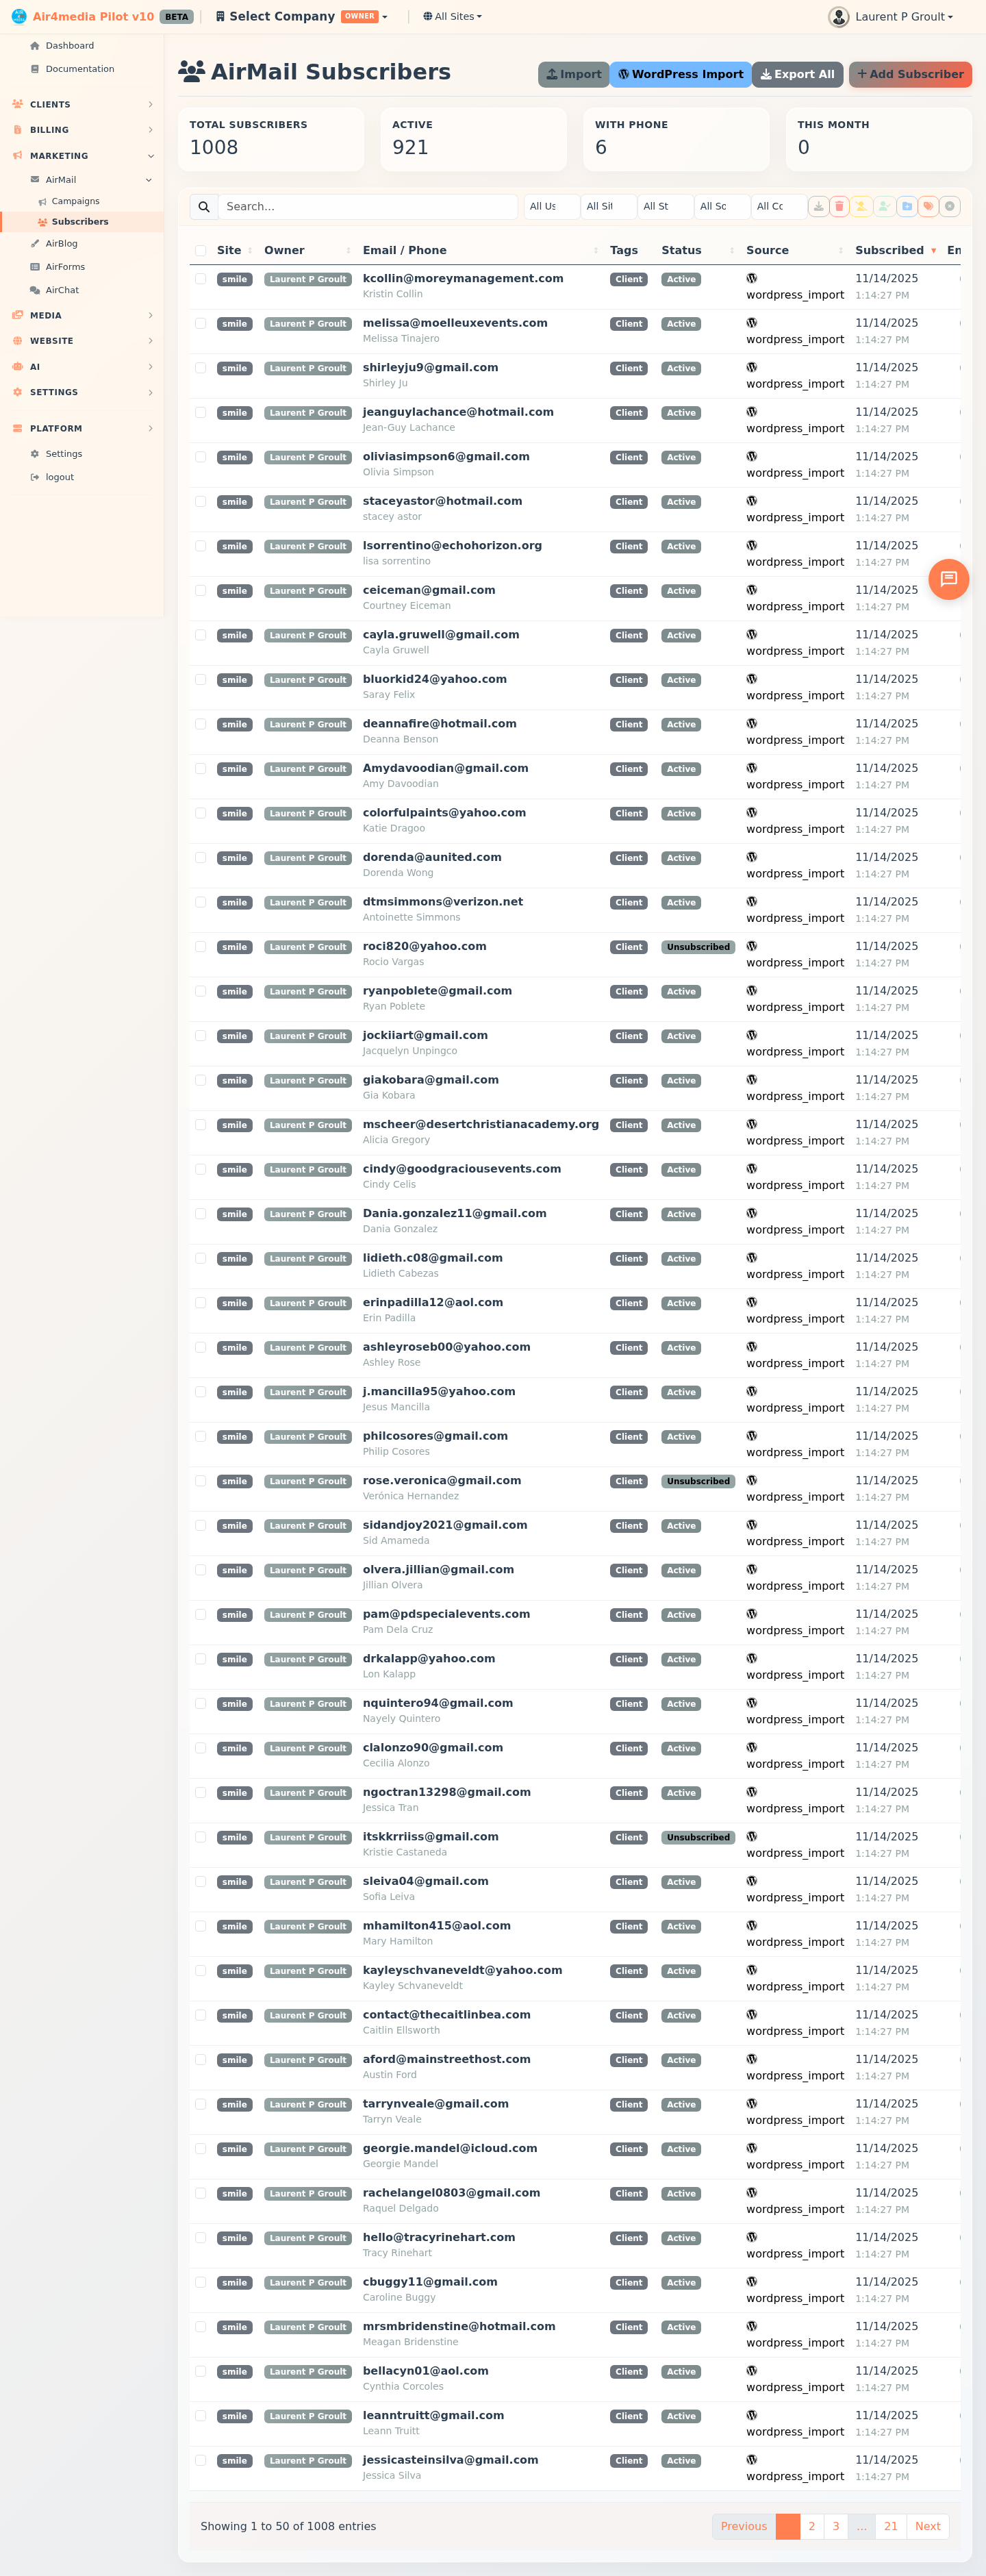
- Live Stats: Four cards at the top show your total subscribers, active count, how many have a phone number on file, and new sign-ups this month.
- Smart List: Browse and search by email, name, phone, or tag. Filter by site, status (Active / Unsubscribed / Bounced / Complained), source (Import, Form, API, Manual, WordPress), or contact type (Email Only, Phone Only, Email & Phone). Sort by any column.
- Tags: Organize subscribers with custom tags for targeted campaigns. Add tags individually or in bulk across many subscribers at once.
- Batch Actions: Select multiple subscribers to export, delete, unsubscribe, resubscribe, add to lists, add tags, or remove tags in one step.
- CSV Import: Upload a CSV file to add or update large numbers of subscribers quickly, with a live progress bar.
- WordPress Import: Dedicated import flow for migrating subscribers from a WordPress newsletter plugin.
- Export: Download your full list or a filtered selection as a CSV file.
- Engagement Tracking: See total opens and clicks per subscriber directly in the list.
How to Use
Add a Subscriber
- Click Add Subscriber (top right).
- Select which site this subscriber belongs to — for example, acme-creative.air4.media — or choose All Sites to make them global.
- Enter their email address (required) and optionally their name and phone number.
- Add tags by typing and pressing Enter, or click any suggested tag shown below the field.
- Set the status to Active or Unsubscribed.
- Click Save Subscriber.
Import from CSV
- Click Import.
- Select the target site.
- Upload a CSV file with columns:
email,phone,first_name,last_name,tags(tags comma-separated). - Choose whether to update existing subscribers and/or resubscribe previously unsubscribed contacts.
- Optionally add tags to all imported subscribers and assign them to one or more lists.
- Click Start Import and watch the progress bar.
Import from WordPress
- Click WordPress Import.
- Select the target site (WordPress imports require a specific site — not "All Sites").
- Upload your WordPress CSV export (columns:
email,first_name,last_name,subscribed,created_at). - Click Import from WordPress.
Manage Subscribers in Bulk
- Check the boxes next to the subscribers you want (or use the select-all checkbox).
- Use the batch action buttons to: Export, Delete, Unsubscribe, Resubscribe, Add to List, Add Tags, or Remove Tags.
Filter the List
Use the filter dropdowns above the list to narrow by:
- Site — view subscribers for a specific site
- Status — Active, Unsubscribed, Bounced, Complained
- Source — how they subscribed (Import, Form, API, Manual, WordPress)
- Contact Type — Email Only, Phone Only, or Email & Phone
Tips
- Phone numbers should include the country code (e.g., +12025551234) for SMS compatibility.
- Tags are shared across your account — reuse them to build consistent segments. Search the list by tag name to find all subscribers with a specific label.
- The Engagement column shows total opens and clicks, helping you spot your most active readers.
- Click Export All to back up your full list before making bulk changes.
- Subscribers marked as Bounced or Complained are automatically excluded from future campaigns — no action needed on your part.