Backup
The Smart Backup System lets you save and restore your platform's files and database at any point in time. Use it before making major changes, or routinely to keep your account safe.
Key Features
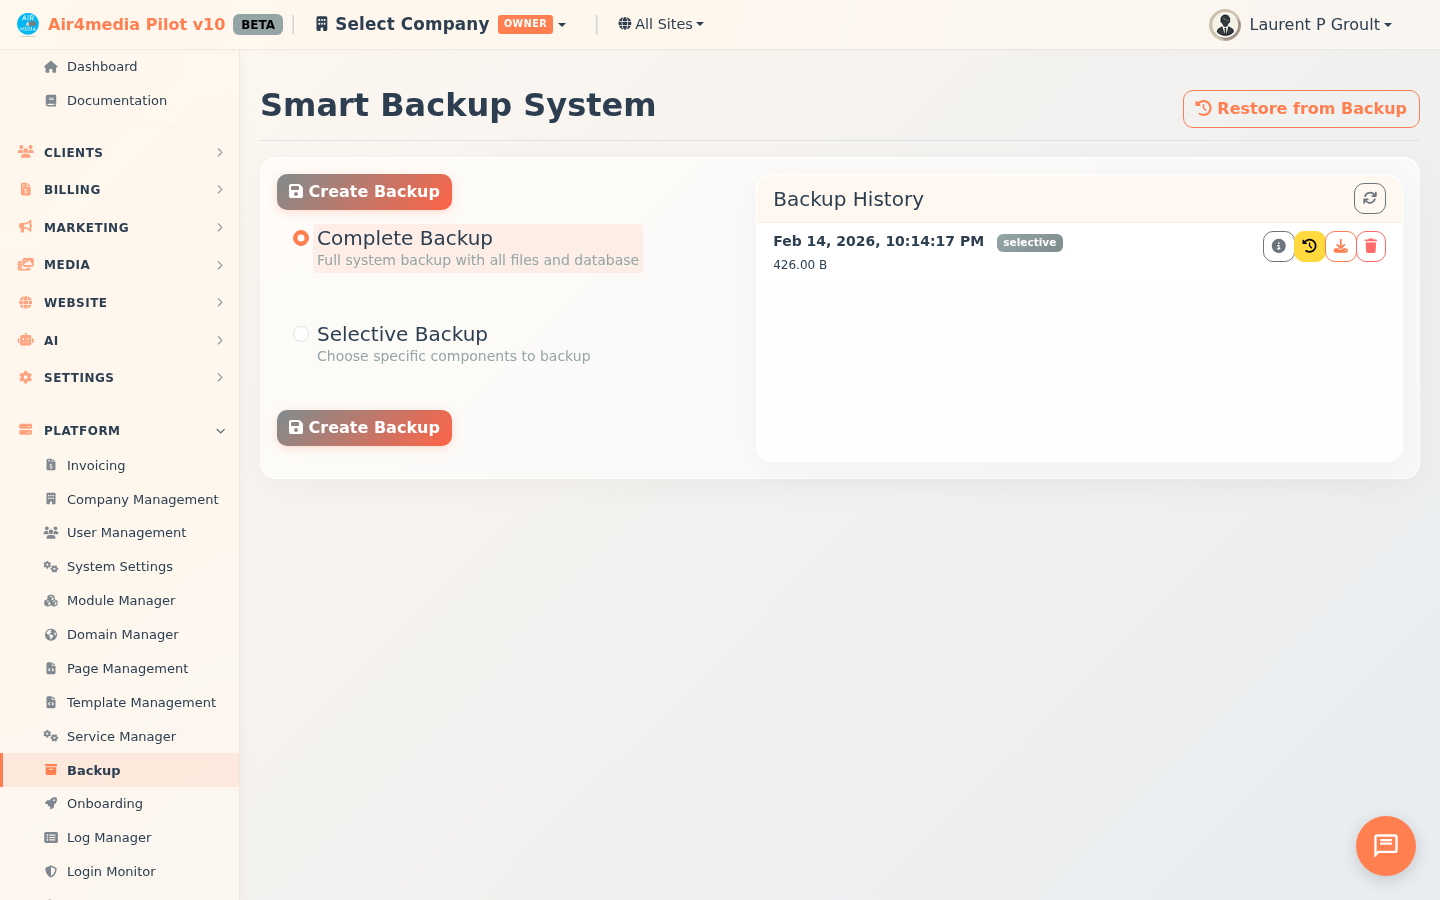
- Complete Backup: Captures everything — all system files and the full database — in one click.
- Selective Backup: Choose exactly what to include: AI reference files, specific system folders, individual pages and their assets, or selected database tables.
- Backup History: View all saved backups with their date, type, and size. Each entry shows action buttons to view details, restore, download, or delete.
- Backup Details: Open any backup to browse its file structure, database tables, and individual files. Add a note to label what changed.
- Restore: Roll back files or database tables to any saved point. Optionally create an automatic safety backup first.
- Download: Save any backup as a file to store off-server.
- Send to AI Assistant: Share a backup's file structure with the AI Assistant for context when troubleshooting.
How to Use
Creating a Backup
- Go to Backup from the sidebar.
- Choose a backup type:
- Complete Backup — backs up everything automatically.
- Selective Backup — reveals options to pick specific components.
- If using Selective, check the items to include:
- Air4lib Context — reference files used by the AI Assistant.
- Core Files — pick individual system folders (Components, Views, Config, etc.).
- Pages — select specific pages; expand any page with the arrow button to choose individual files (views, handlers, scripts, styles). Use the list/detail toggle at the top to switch between compact and expanded views.
- Database — choose tables and whether to back up their structure, data, or both.
- Click Create Backup. A progress bar confirms the backup is running. The new entry appears in Backup History when done.
Viewing Backup Details
- In the Backup History panel, click the info icon next to any backup.
- Browse tabs for File Structure, Database, and Files.
- Use Copy Structure to copy the file tree to your clipboard.
- Add or edit a comment to label the backup, then click Save Comment.
Restoring from a Backup
- Click Restore from Backup at the top of the page, or click the restore icon next to any backup in history.
- Select a backup from the list on the left.
- Choose which files and database tables to restore using the Files and Database tabs.
- For database tables, decide whether to restore structure, data, or both. Note: restoring structure will drop and recreate those tables.
- Leave Create backup before restore checked to save your current state first.
- Click Start Restore and wait for the confirmation message.
Downloading or Deleting a Backup
- Click the download icon to save a backup file to your computer.
- Click the trash icon to permanently delete a backup.
Tips
- Run a Complete Backup before any significant configuration change or platform update.
- Use comments to label what changed — for example, "Before invoice template redesign" or "After adding new contact fields."
- Always keep Create backup before restore checked — it gives you a fallback if the restore doesn't go as expected.
- Backups are automatically removed after 30 days.
- Use Send to AI Assistant to share a backup's file structure with the AI for context when troubleshooting — you'll be prompted to open the AI Assistant right away.