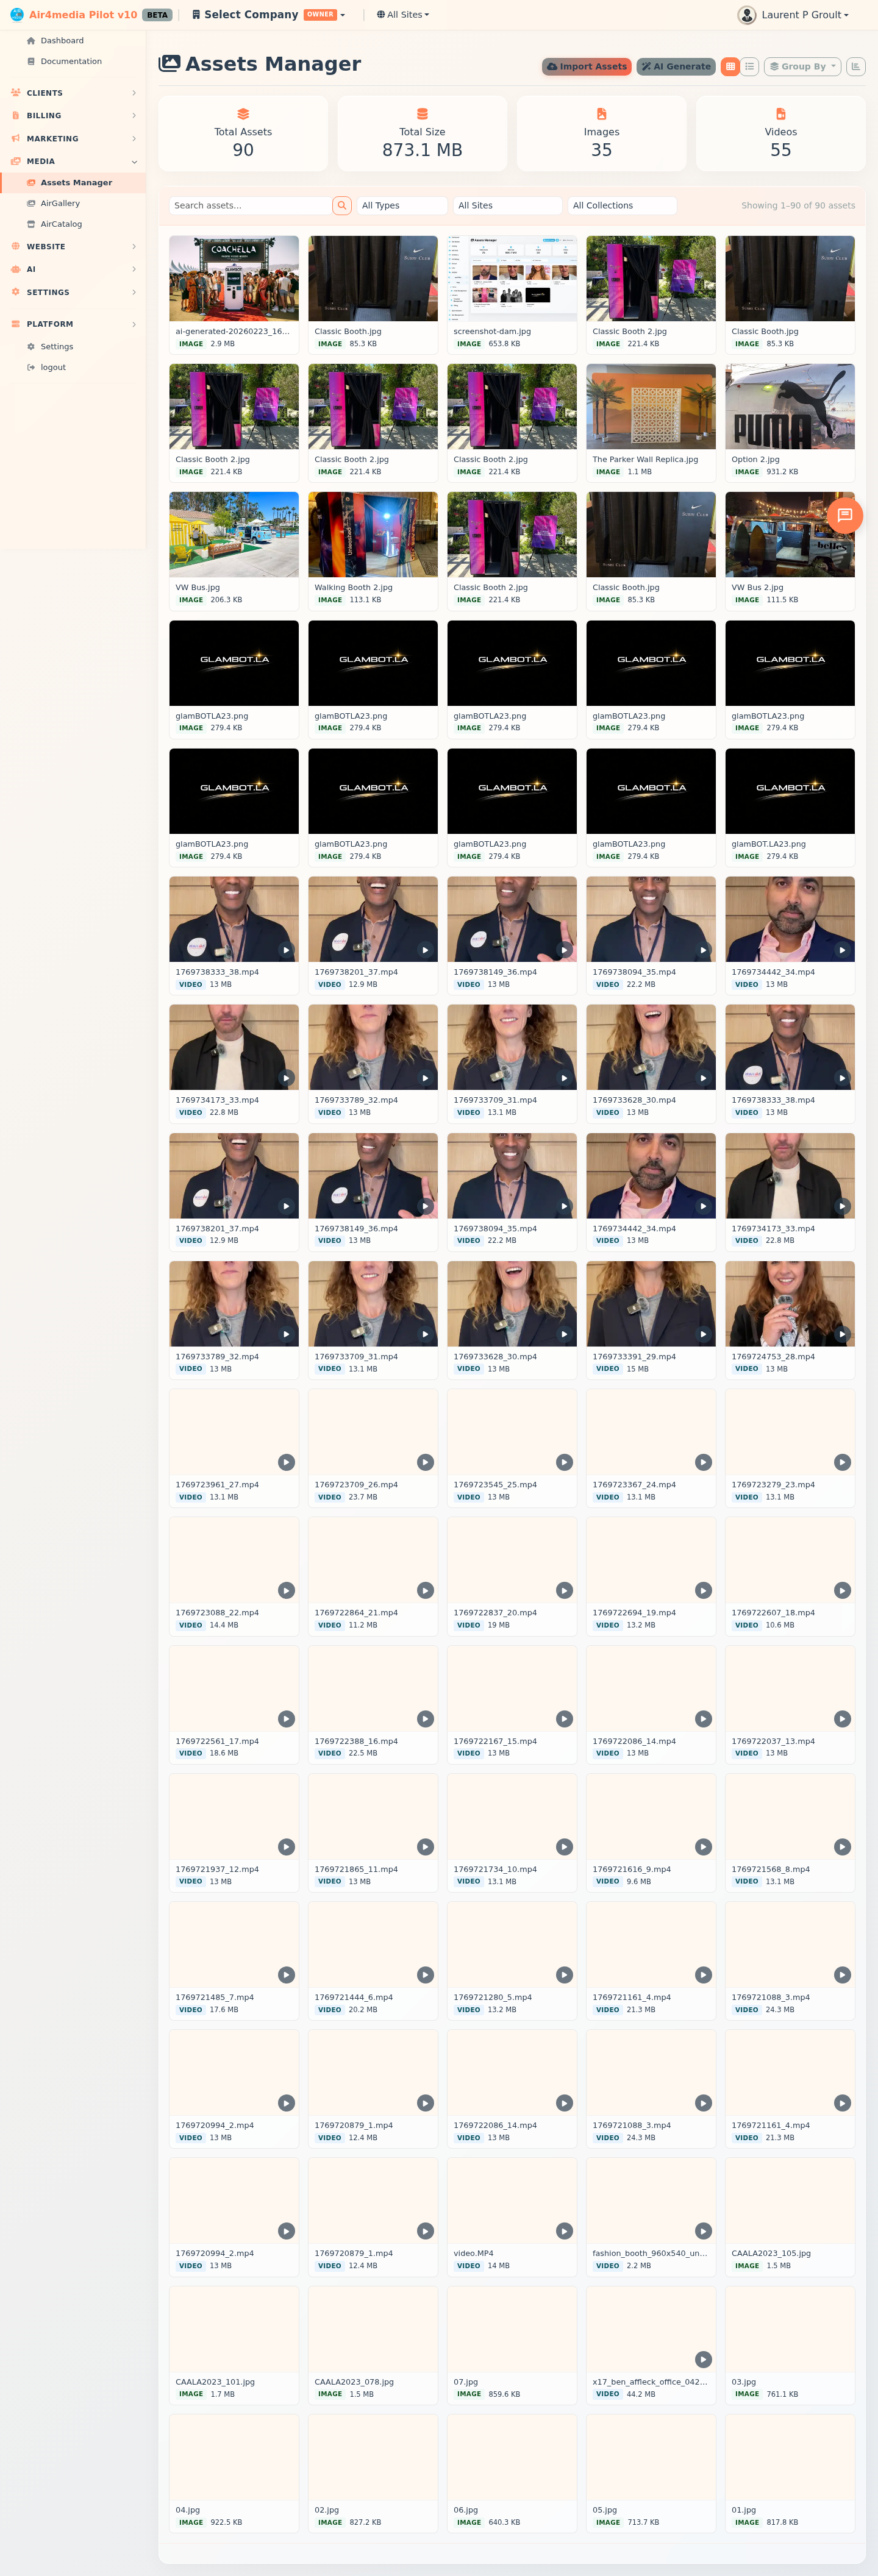
The Assets Manager is Pilot's digital asset management (DAM) system — your central library for all media files: images, videos, audio, and documents. For ACME Creative Agency, every campaign image, client photo, and brand asset lives in one searchable, organized place.
Key Features
- Grid & List Views: Switch between a visual thumbnail grid and a detailed list view using the toggle in the top-right corner
- Stats Dashboard: See total asset count, storage used, and image/video breakdowns at a glance (collapsible to save screen space)
- Cloud Storage: All assets are stored on Wasabi S3 for reliable, fast delivery
- AI Image Generation: Create images from a text prompt using DALL-E 3 (5 credits) or Gemini (3 credits) — your credit balance is shown before you generate
- Collections: Organize assets into named Collections, Galleries, Campaigns, Catalogs, Albums, or Projects — click any collection card to drill into its contents
- Content Provenance (C2PA): Automatically validates the digital origin of each asset — see whether an image was human-captured, AI-generated, or AI-edited, and filter your library by provenance
- Metadata & EXIF: Each asset stores title, alt text, description, tags, copyright, and usage rights; photos include extracted camera data with a full EXIF/IPTC viewer
- Usage Rights Tracking: Flag assets as Commercial, Editorial, Restricted, or Unknown
- Feature Image Assignment: Set any asset as the cover image for a Campaign, Gallery, or Catalog directly from the asset detail panel
How to Use
Uploading Assets
- Click Import Assets in the top-right
- Optionally assign to a Campaign, Gallery, or Catalog before uploading
- Drag and drop files or click to browse — supports JPG, PNG, GIF, WebP, and common video formats
- Use the Server Import tab to scan and bulk-import files already stored on the server
Generating Images with AI
- Click AI Generate (wand icon) — your current credit balance is shown
- Choose DALL-E 3 (5 credits, HD option available) or Gemini (3 credits, more aspect ratios)
- Enter a description up to 4,000 characters and adjust size or quality settings
- Click Generate Image — DALL-E also shows how it interpreted your prompt; the result saves directly to your library, tagged with the AI provider
Finding Assets
- Use the search bar to find files by name, title, tags, or description
- Filter by type (images, videos, audio, documents), site, or collection
- Filter by provenance to show only AI-generated, human-captured, or unverified assets
- Use Group By → Collection to browse collection cards — click any card to drill into its assets
Viewing & Editing an Asset
- Click any asset to open its detail panel
- See file info: filename, type, size, dimensions or duration, site, collections, uploader, and date
- Edit the filename directly, or update metadata: title, alt text, description, tags, copyright, and usage rights
- View content provenance (C2PA) — source classification and signer information
- Expand Raw EXIF / IPTC Data to view full technical camera metadata from a photo
- Use Set as Feature Image to assign the asset as the cover for a Campaign, Gallery, or Catalog
- Copy the asset's direct URL, download the file, or click Save Changes to apply edits
Batch Actions
Select multiple assets using the checkboxes, then choose:
- Delete Selected — permanently removes the files
- Add Tags — applies tags to all selected assets at once (merges with existing tags)
- Assign to Collection — moves selected assets into a collection (create a new one inline if needed)
Tips
- Assign assets to a site at upload time — they'll be available across Site Builder, Airmail campaigns, AirGallery, and AirCatalog
- Use the C2PA provenance filter to quickly separate ACME Creative Agency's original photography from AI-generated work
- Toggle the stats panel off to maximize screen space when browsing large libraries
- AI-generated assets are automatically tagged with the provider name for easy filtering later
- Use consistent tags across your library to make search more effective