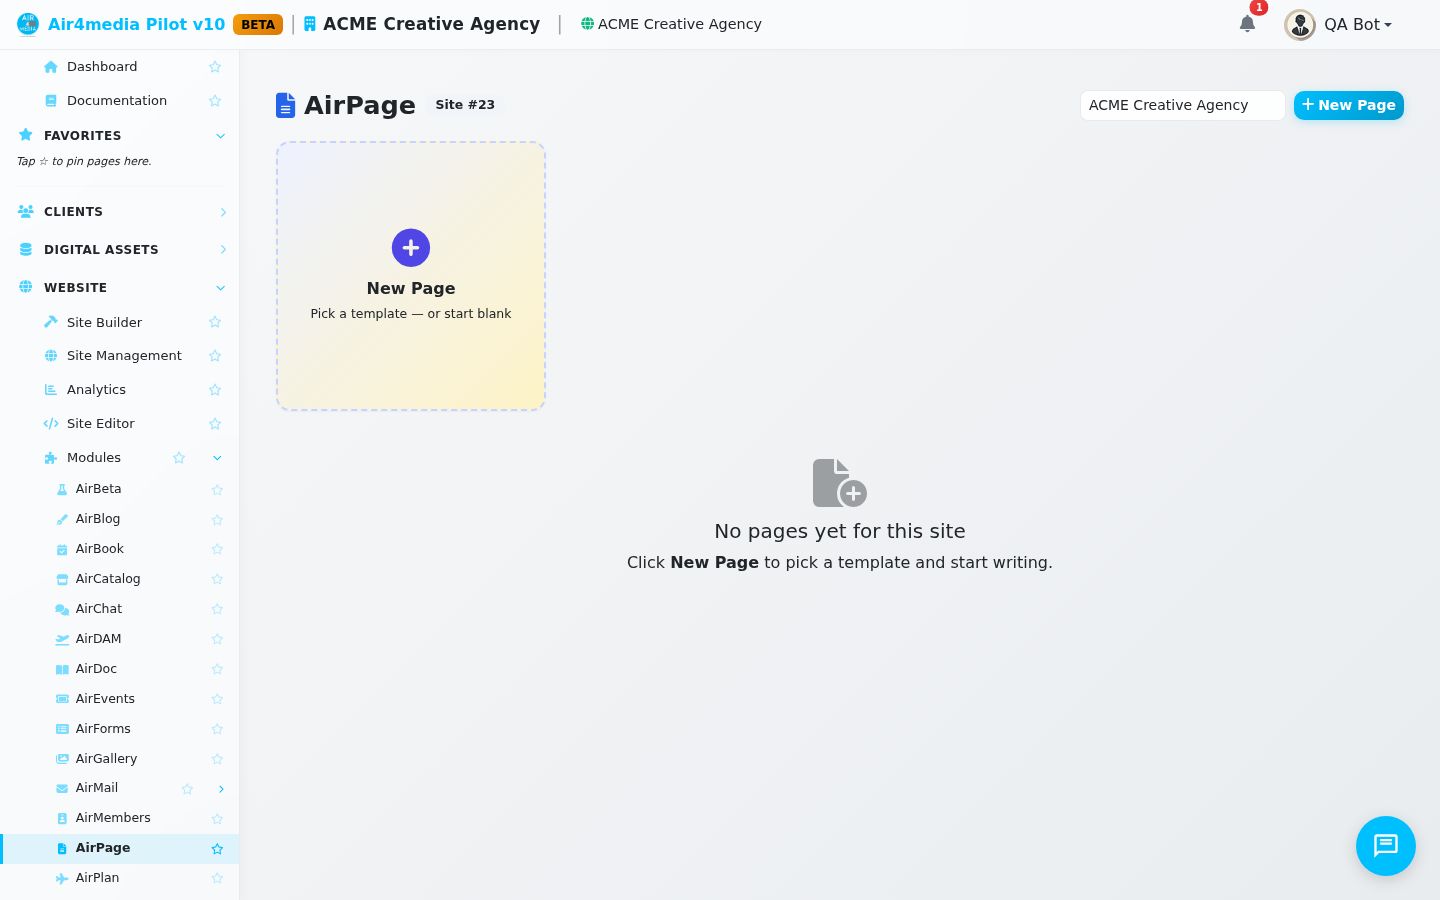
AirPage
AirPage lets you build beautiful storytelling pages for your website — landing pages, showcase pages, case studies, and more. Each page is built around a hero image, a tagline, and a series of content chapters. It's designed for narrative and brand pages, not product listings or pricing.
Key Features
- Page Grid: See all your pages at a glance with cover photos, status badges (Draft, Published, or Archived), chapter counts, and last-edited dates.
- Template Picker: Start every new page from a template — choose from system templates with pre-built chapter layouts, use one of your own saved templates, or begin with a blank page.
- Hero Image: Set a wide landscape photo at the top of the page, chosen directly from ACME Creative Agency's media library.
- Chapters: Build the page body with chapters — each with a title, rich text, and an optional image. Chapters stack top-to-bottom on the published page.
- Chapter Presets: Apply one-click layout presets: Storytelling (auto-alternating image/text), Stacked Image, Quote/Hero, Spec Card, Showcase, or Brand Callout.
- Layout Controls: Fine-tune each chapter's image position (left, right, full width, text only, image only), background color, and text alignment independently.
- SEO Settings: Set a custom page title, meta description, and social sharing image for each page.
- Save as Template: Turn any finished page into a reusable template for future campaigns or client showcases.
- Duplicate: Copy any existing page to use as a starting point.
- Preview: Open the live preview in a new browser tab before publishing.
How to Use
- Open AirPage from the sidebar. You'll see all existing pages for your site.
- Click New Page (or the dashed card in the grid) to open the template picker.
- Enter a page name — for example, ACME Creative — Brand Story — then select a template or choose Blank Page.
- Click Create page to open the editor.
- In the Basics tab, set the page name, URL slug (the address visitors see), tagline, hero image, and status.
- Switch to the Chapters tab and click Add chapter to start writing. Each chapter has a title, body text, and an optional image.
- Click a Block style preset to quickly set the chapter's visual layout — try Storytelling for a natural alternating image/text flow.
- Open the SEO tab and fill in the title and description for search engines and social shares.
- Click Save, then Preview to review how the page looks on your site.
- Set the status to Published and save when you're ready to go live.
Tips
- Wide landscape photos work best for hero images and chapter images.
- The Storytelling preset on most chapters automatically alternates images left and right — it reads naturally on any device without extra configuration.
- Save a polished page as a template so the structure is ready for future campaigns or new client landing pages.
- Pages stay in Draft until you explicitly publish them — you can work at your own pace without anything going live.
- Archiving a page removes it from your grid view but does not permanently delete it.