Quotes
Create and send professional quotes to clients, track their status, and convert accepted quotes into invoices or contracts — all from one place.
Key Features
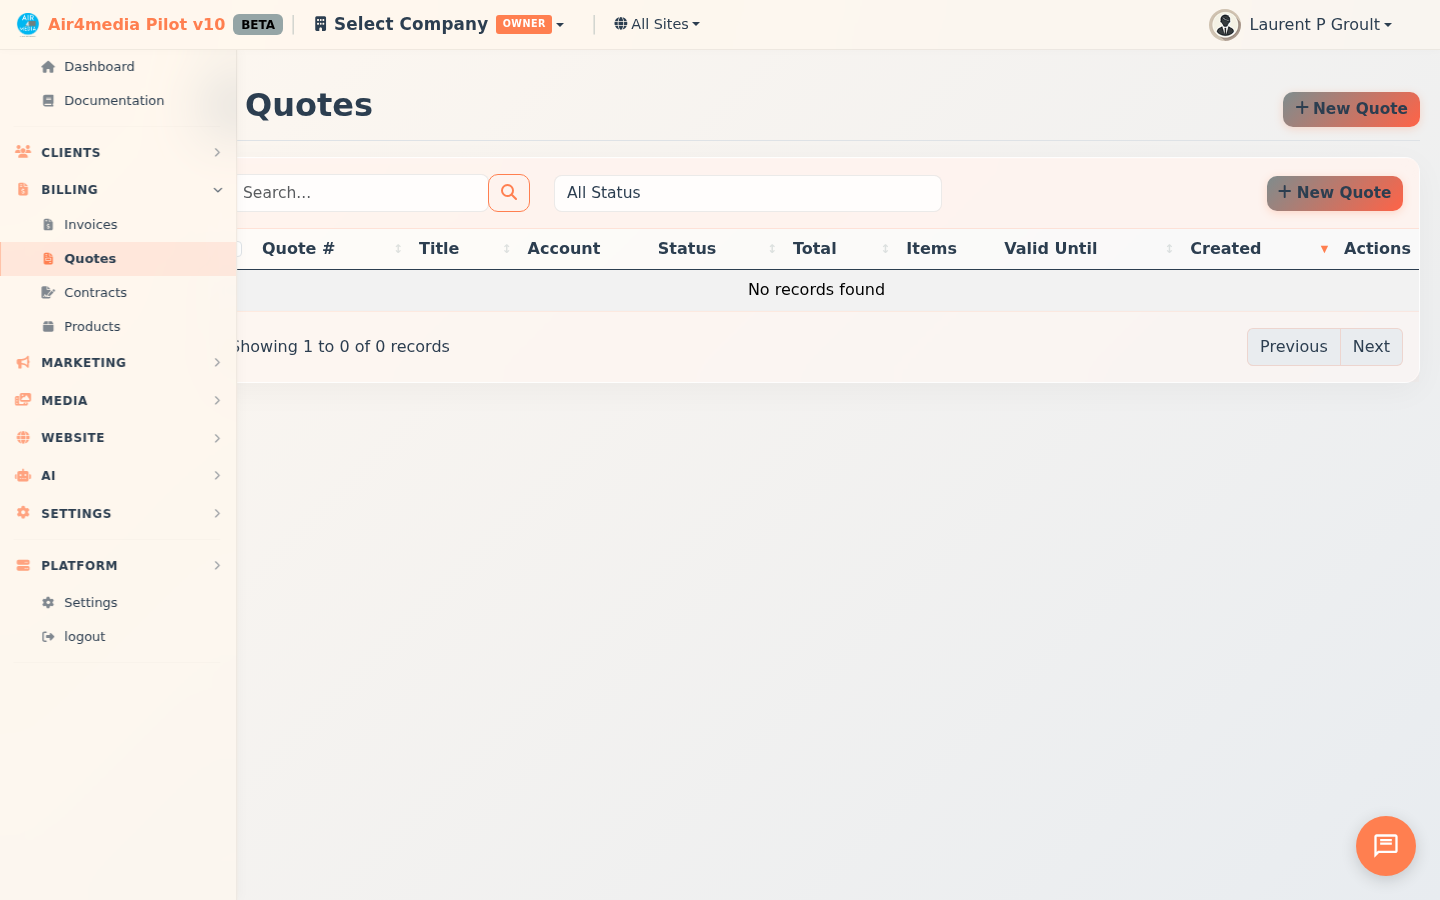
- Quote List: See all quotes with number, title, account, status, total, item count, valid date, and age at a glance
- Stats Bar: At-a-glance counts for Draft, Sent, and Accepted quotes — plus total accepted value
- Status Tracking: Follow each quote through Draft → Sent → Viewed → Accepted, Declined, Expired, or Revised
- Line Items: Build quotes from custom items, catalog products, or pre-built packages
- Pricing Controls: Per-item discounts, a quote-level discount (fixed or %), and a tax rate — tax applies only to taxable items and adjusts proportionally when a discount is added
- Optional Items: Mark add-ons as optional so clients can choose them at acceptance without inflating the base total
- Payment Rules: Define payment schedules (e.g. 50% at signing, 50% before the event) and set one as your default
- Quote Templates: Save any quote as a reusable template to speed up repeat work
- Client Acceptance Wizard: Clients select optional items, confirm event details, preview the contract, and sign digitally — all in one guided flow
- Auto-Contract Generation: If a contract template is assigned, the signed contract is created automatically on acceptance
- One-Click Conversion: Turn an accepted quote into a contract or invoice directly from the editor
- Post-Acceptance Workflow: Automatically trigger follow-up automations the moment a client accepts
- Duplicate: Copy any quote as a new draft — great for recurring work like ACME Creative Agency's seasonal campaigns
- Filter & Search: Filter by status or search by quote number or title
How to Use
Create a Quote
- Click New Quote in the top-right corner
- Enter a Title and select the Account — for example, "Spring Campaign" for ACME Creative Agency
- Optionally link a Project and Contact — dropdowns auto-populate once you pick an account
- Set a Valid Until date and choose a Pricing Tier (Retail, Pro, Wholesale, or Custom)
- Add an intro message, closing message, payment terms, and terms & conditions as needed
- Use Internal Notes for team context — never visible to the client
- Click Save Quote
Add Line Items
In the right panel of the quote editor:
- Click Custom Item for a freeform entry (Service, Product, Labor, or Expense)
- Click Product to pick from your catalog — pricing and taxable status carry over automatically; products are grouped by type for easy browsing
- Click Package to add a pre-built bundle — savings vs. individual items are shown in the picker
- Set quantity, unit price, and an optional per-item discount on each item
- Check Optional to mark items as client-selectable add-ons
Send a Quote
- Open a draft and click Send to Client, or use the Send action from the list
- An email preview with a personal message field appears before you confirm
- Status changes to Sent; when the client opens their link, it moves to Viewed
Client Acceptance
When a client clicks Accept, they go through a guided wizard:
- Select which optional items they want included
- Confirm event details (venue, dates, on-site contacts) if applicable
- Preview the contract with their information merged in
- Enter their name, email, and draw their digital signature
If a contract template is assigned, the signed contract is generated automatically on acceptance.
After Acceptance
- Click Convert to Contract or Convert to Invoice in the editor — all line items carry over
- If a post-acceptance workflow is assigned, it triggers automatically
Manage the List
- Filter by Status to find quotes at any stage
- Click Duplicate on any row to copy a quote as a new draft
- Select multiple rows and click Delete Selected to bulk-remove
Tips
- Quote numbers are auto-assigned in the format
QTE-YEAR-NNNN - Valid dates shown in red mean the quote has passed its expiry
- A quote can only be converted once — the system prevents duplicate contracts or invoices from the same quote
- Opening Quotes from a Project or Account page pre-fills those fields automatically
- Use Payment Rules (button at the top of the page) to standardize deposit and installment schedules across your team