Event Hub
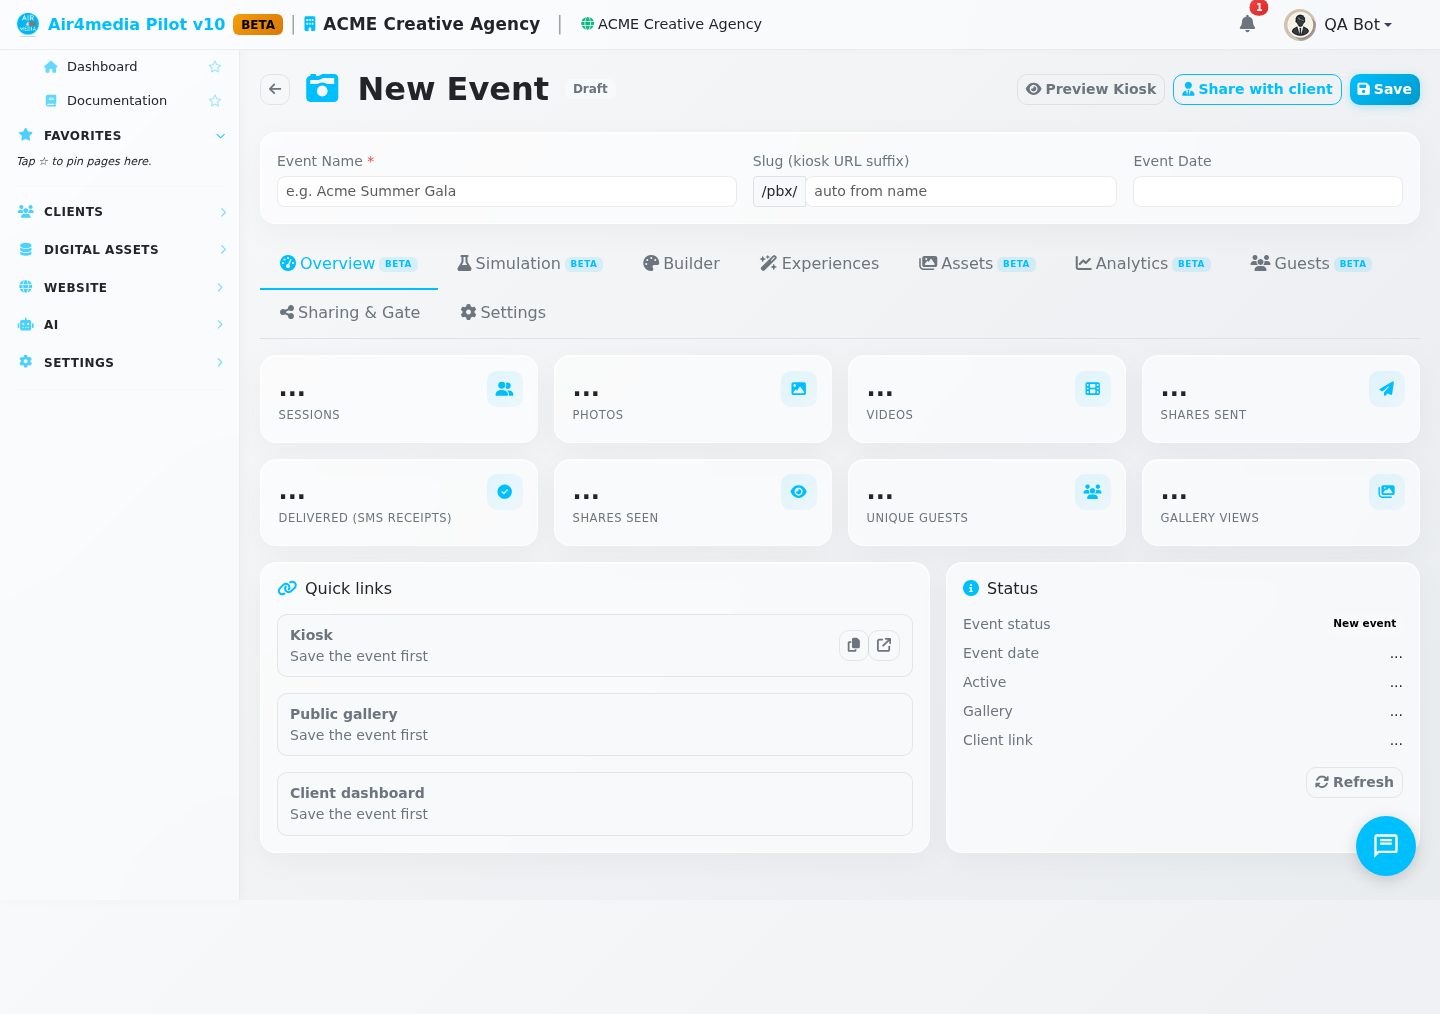
The Event Hub is your command center for a single photobooth event. From here you design the booth experience, manage captured photos, track performance, and see who attended — all in one place. For ACME Creative Agency, each branded activation or client event gets its own dedicated hub.
Key Features
- Design tab: Set the kiosk's colors, logo, and attract screen message so guests see ACME Creative Agency's branding the moment they step up to the booth.
- Experiences tab: Choose which booth modes guests can use — Classic Photo, AI Portrait, Boomerang, Video Booth, and more. Add multiple experiences, rename them, and fine-tune each one independently.
- AI Prompt builder: Craft AI photo transformations using a guided builder (choose style, mood, background, and extras) or write free-form prompts. Preview any prompt against a sample photo before the event goes live.
- Sharing tab: Control where guests land after their session — your website, a Google Reviews page, or Yelp. Set a minimum review count to unlock sharing and customize the SMS message guests receive with their gallery link.
- Settings tab: Manage session behavior — countdown timer, idle timeout, max AI photos per guest, and the PIN code used to exit kiosk mode.
- Assets tab: Browse every photo and video captured at the event in a filterable grid. Publish the gallery with one click to generate a shareable link, or download everything as a ZIP file.
- Analytics tab: See how the event performed — photos taken, shares, gallery visits, and a 30-day chart plotting daily captures and shares side by side.
- Guests tab: Review everyone who used the booth, including their SMS delivery status, whether they viewed their personal gallery, and their marketing consent.
How to Use
- Open any event from the Photo Events list to enter its hub.
- Go to the Design tab — upload ACME Creative Agency's logo and choose brand colors for the kiosk screen.
- In Experiences, add the booth modes you want guests to see and configure each one. For AI portraits, build your prompts using the guided builder or free-form text.
- Click Test on any AI prompt to preview the transformation before the event — adjust until you're happy with the result.
- Open the Sharing tab, add your review destinations, and customize the SMS guests receive after their session.
- Review timing and operational details in Settings, then click Save.
- Copy the Kiosk URL from the Overview panel and send it to your booth operator — that link launches the booth.
- After the event, go to Assets and click Publish Gallery to make photos available to guests via a stable shareable link.
- Check Analytics for engagement numbers, and visit Guests to see the full attendee list or export it as a CSV.
Tips
- Use the Prompt Library to save your best AI prompts and reuse them at future ACME Creative Agency events without starting from scratch.
- The gallery can be published and unpublished at any time — useful for reviewing photos internally before opening them to guests.
- The Client Share link lets guests access their personal gallery independently of the main event gallery.
- Export the guest list from the Guests tab to follow up with attendees or bring them into your contacts for future campaigns.