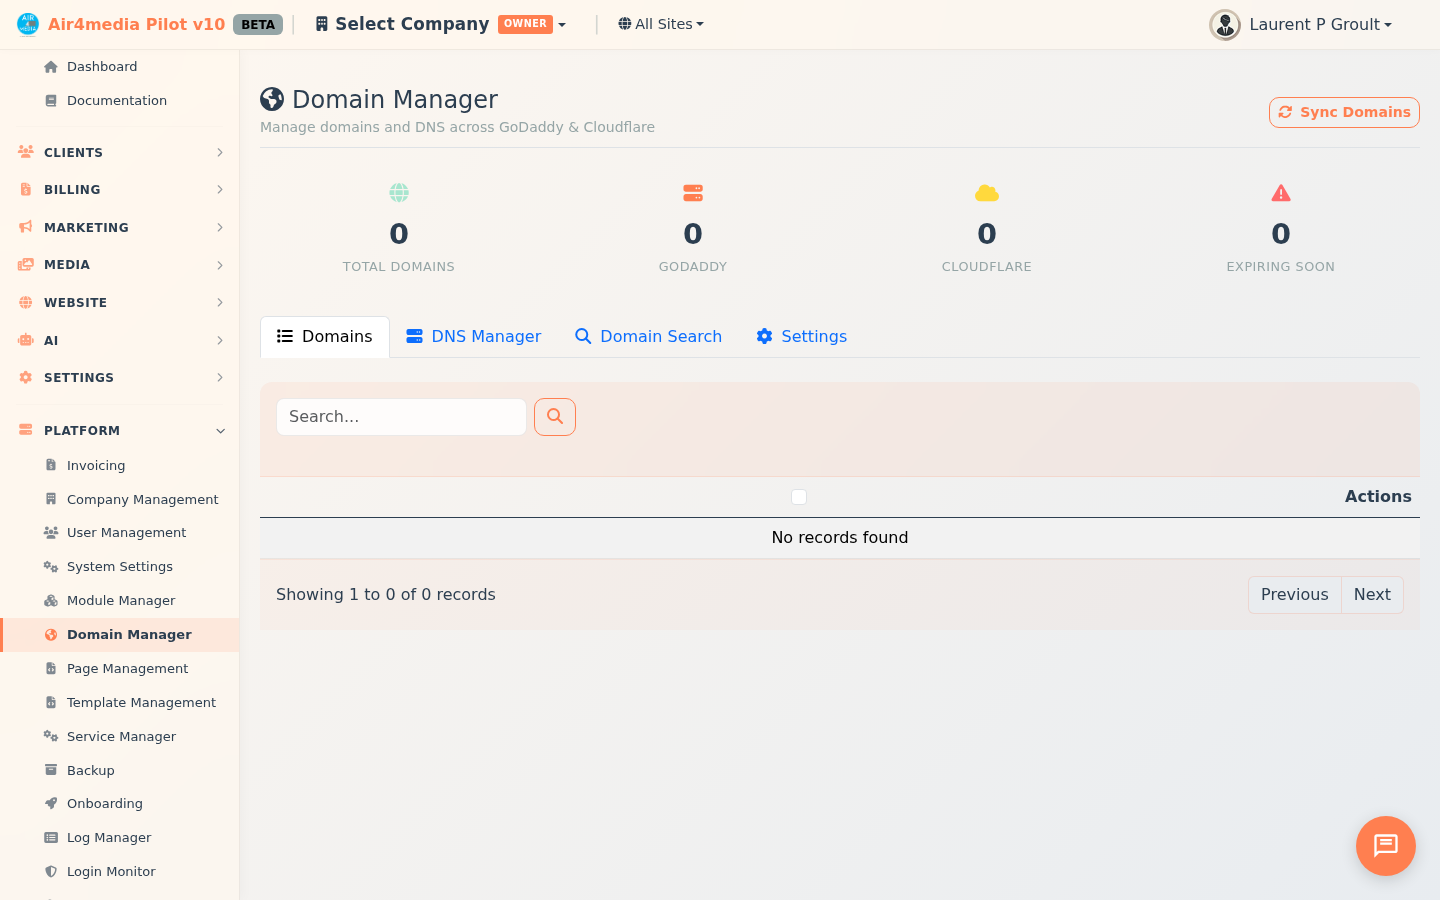
Domain Manager
Manage your entire domain portfolio in one place. ACME Creative Agency's domains — whether registered through GoDaddy or managed via Cloudflare — appear in a single dashboard with live stats, DNS editing, and direct links to each registrar.
Key Features
- Domain Overview: Live stats show total domains, count per provider, and how many expire within 90 days
- DNS Management: Add, edit, or delete DNS records (A, AAAA, CNAME, MX, TXT, NS, SRV, CAA) without logging into GoDaddy or Cloudflare separately
- Quick DNS Templates: Apply pre-built record sets — Hosting, Email, Verification — to any domain in one click
- Domain Search & Purchase: Check availability and buy new domains through GoDaddy without leaving the platform
- Site Linking: Associate any domain with one of your Airmail sites for easy reference
- Dual Provider: Works with both GoDaddy-registered domains and Cloudflare-managed zones
How to Use
Sync Your Domains
Click Sync Domains to pull all domains from your connected providers. The stats row updates automatically — domains expiring within 30 days appear red, within 90 days yellow.
Manage a Domain
- In the Domains tab, filter by registrar, DNS provider, or status to find the domain
- Click Edit to open the details panel — link it to an Airmail site or add notes
- Registrar info, expiry date, auto-renew status, and nameservers are read-only, pulled live from the provider
- Click Save to apply changes, or the Open in Registrar icon to jump directly to GoDaddy or Cloudflare
- Click Remove to take a domain off the list — this does not affect the registrar
Manage DNS Records
- Click the DNS Manager tab and select a domain from the dropdown
- Records load automatically with a last-synced timestamp
- Click Add Record — choose the type, name, content, and TTL; for Cloudflare A/AAAA/CNAME records, toggle the proxy switch
- Click the edit or delete icon on any existing record, or Refresh to pull the latest from the provider
Apply a DNS Template
- In the DNS Manager tab, select a domain
- Template buttons appear below the dropdown (Hosting, Email, Verification, and any custom sets)
- Click a template — its records are added immediately without removing existing ones
Search and Buy a Domain
- Click Domain Search, type a name, choose a TLD (.com, .net, .org, .io, .co, .ai, .dev, .app, etc.), and click Check
- If available, the price appears — click Purchase to proceed
- If taken, suggested alternatives appear below — click Check on any to evaluate it
- Fill in registrant details or click Load Saved, pick a registration period (1–5 years), accept the agreements, and confirm
Connect Your Providers
- Click the Settings tab
- Enter your GoDaddy API Key and Secret (optional: reseller keys for purchases), choose Production or OTE/Test, then click Test Connection
- Enter your Cloudflare API Token (needs "Edit zone DNS" permission), then click Test Connection
- Click Save Settings — both providers are now active for syncing and DNS edits
Tips
- Click the DNS Records icon on any domain row to jump straight to its records in DNS Manager with that domain pre-selected
- Cloudflare's proxy toggle (orange cloud) routes traffic through Cloudflare's network — use DNS-only mode when your server needs to be reached by its real IP address
- Use GoDaddy's OTE environment in Settings to test domain purchases without real charges
- Run Sync Domains after a purchase so the new domain appears in your list right away