Campaigns
Create, schedule, and send email campaigns to your subscribers. Track opens, clicks, and performance in one place.
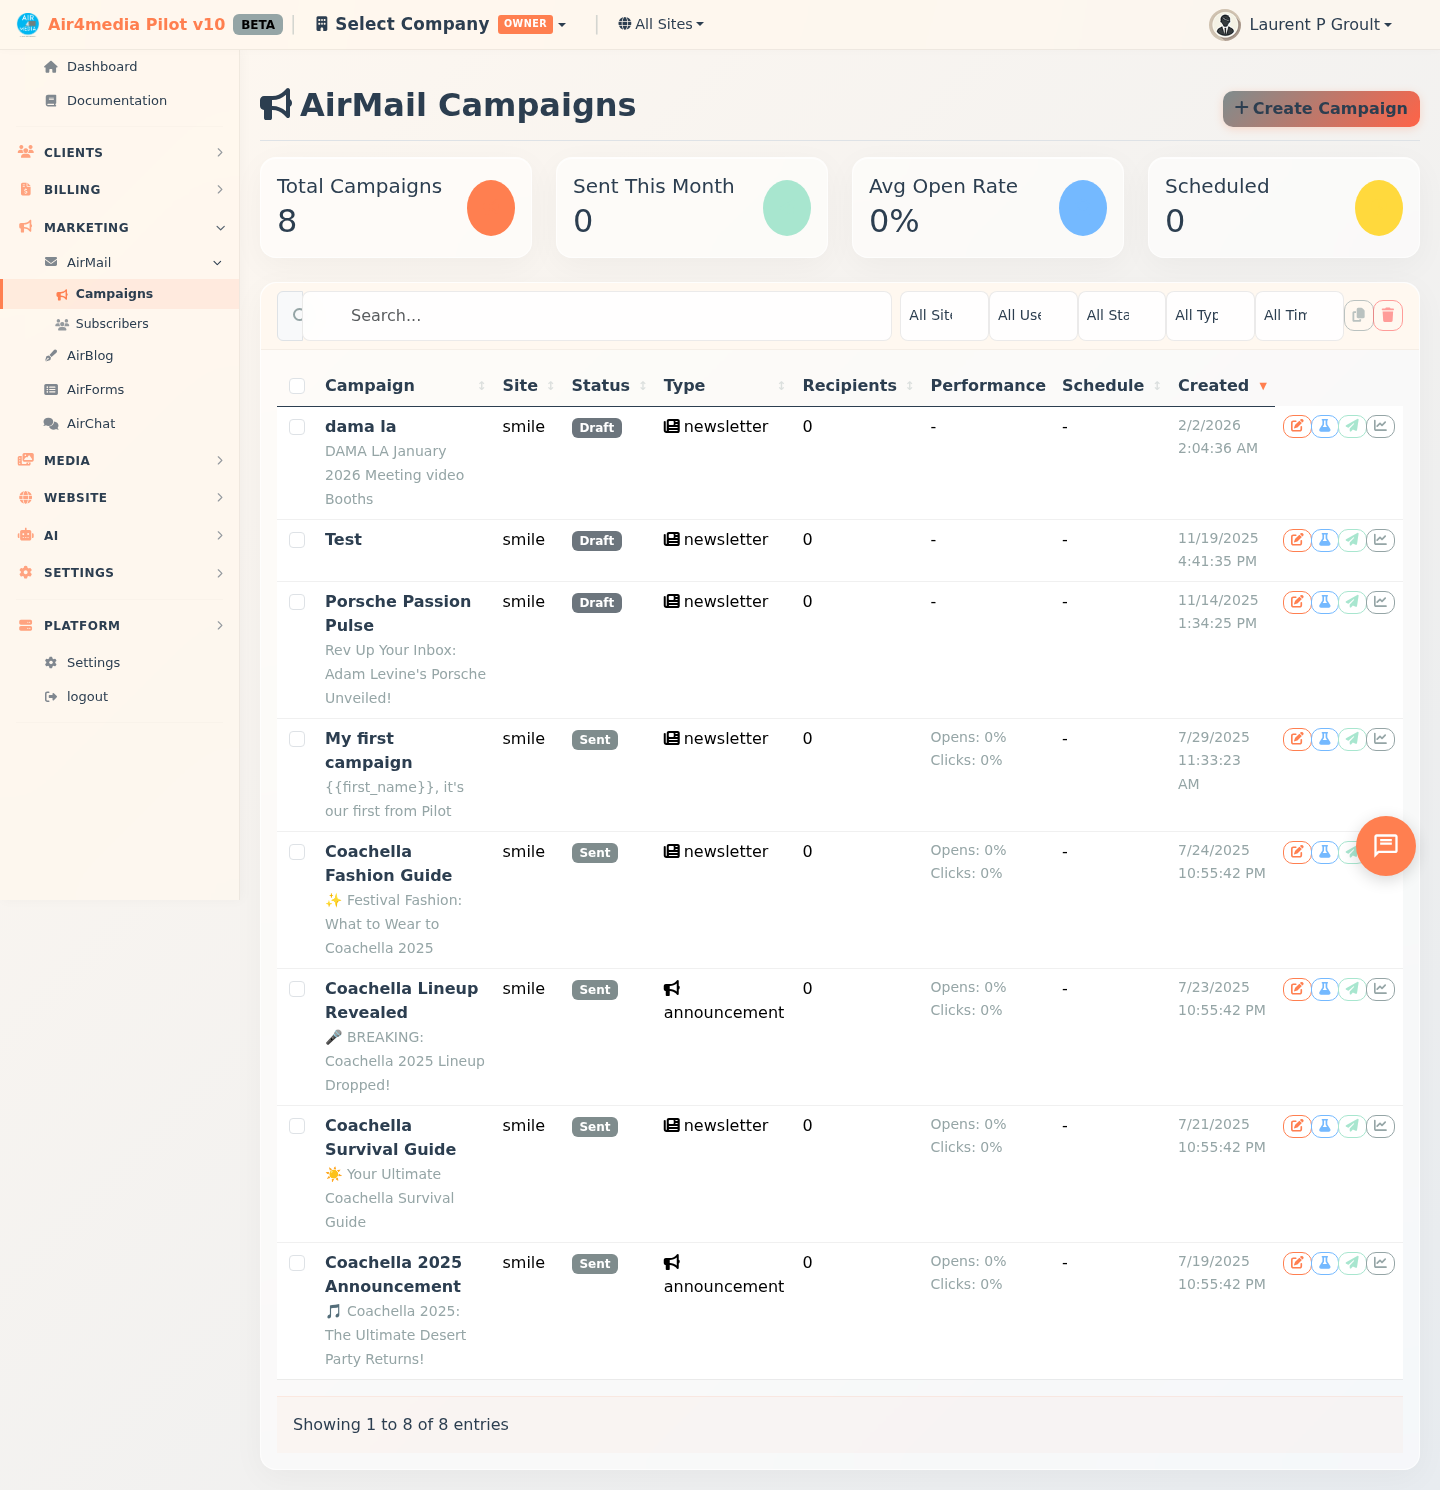
Key Features
- Dashboard Stats: See total campaigns, how many were sent this month, your average open rate, and how many are scheduled at a glance.
- Campaign Types: Organize campaigns by type — Newsletter, Announcement, Welcome Series, Promotion, or Transactional.
- Flexible Recipients: Send to all active subscribers, specific subscriber lists, or filter by tags. Recipient counts update live as you change your selection.
- Personalization: Insert merge tags —
{{first_name}},{{last_name}},{{email}},{{company}},{{unsubscribe_link}}, and{{view_browser_link}}— into subject lines and content. Use the Merge Tags button in the editor toolbar to insert them quickly. - Multi-channel Delivery: Send via email, SMS, or both. SMS messages include a link to the full email and support personalization tags (up to 300 characters).
- AI Newsletter Generator: Describe your topic, pick a tone and length, and let AI draft a complete newsletter — including subject line, preview text, and formatted content. Review and edit everything before applying. Uses 10 credits per generation.
- Email Templates: Start from a built-in layout — Basic Newsletter, Announcement, or Welcome Email — via the Templates button in the editor toolbar.
- Media Assets: Upload and insert images or videos from your media library directly into the email editor. Edit titles, descriptions, and metadata from within the campaign editor.
- Content Tabs: Switch between the visual HTML editor, plain text version, raw source code, and preview — all in one place.
- Preview Modes: Preview your campaign in desktop or mobile view before sending.
- Test Emails: Send a test to one or more comma-separated addresses to review the email in a real inbox.
- Performance Stats: After sending, view opens, clicks, bounce rate, top-clicked links, delivery timeline, and geographic engagement for each campaign.
How to Use
Create a Campaign
- Click Create Campaign in the top right.
- Select a site, enter a campaign name, and choose the type.
- Write your subject line — use
{{first_name}}to personalize it. - Optionally add preview text (the short line shown after the subject in email clients).
- Choose a delivery channel: Email, SMS, or both.
- Select your recipients: all subscribers, specific lists, or by tags.
- Write your content in the HTML editor. Use AI Newsletter to generate content automatically, or Media Assets to insert images or videos.
- Check the Preview tab to see how it looks on desktop and mobile.
- Send a test email to review it in your inbox.
- Choose to Send Immediately, Schedule for Later, or Save as Draft.
- Click Save Campaign.
Use the AI Newsletter Generator
- Click AI Newsletter in the editor toolbar.
- Describe what your newsletter is about.
- Optionally add keywords, then choose a tone (Professional, Casual, Creative, Funny, or Persuasive) and length.
- Click Generate Newsletter — generation takes 15–30 seconds.
- Review and edit the generated subject line, campaign name, and preview text.
- Click Apply All & Close to fill in the campaign form, or Regenerate to try again.
Send or Schedule a Campaign
- Campaigns in Draft or Scheduled status can be edited or sent.
- Click Send on any draft to open a confirmation — review the recipient count, check the confirmation box, and click Send Campaign.
- Active campaigns can be paused and resumed later.
- To reschedule, edit the campaign and update the scheduled date and time.
View Campaign Stats
- After a campaign is sent, click Stats to view open rates, click rates, bounce rate, top-clicked links, delivery timeline, and geographic engagement.
Manage Campaigns
- Use the search bar to find campaigns by name or subject.
- Filter by site, status, type, or date range using the filter dropdowns.
- Select multiple campaigns to Duplicate or Delete them in bulk.
Tips
- Save early as a draft while you work — you can always come back to edit before sending.
- Always send a test email before sending to your full list.
- Use the AI Newsletter Generator when you need a quick starting point — you can edit all generated details before applying.
- Preview text significantly affects open rates — always fill it in.
- SMS delivery requires subscribers to have a phone number on file.