AirGallery lets ACME Creative Agency create beautiful image galleries, share them publicly with a link, and embed them on any website. Use it to present client portfolios, share project proofs, and organize visual assets across multiple client sites.
Key Features
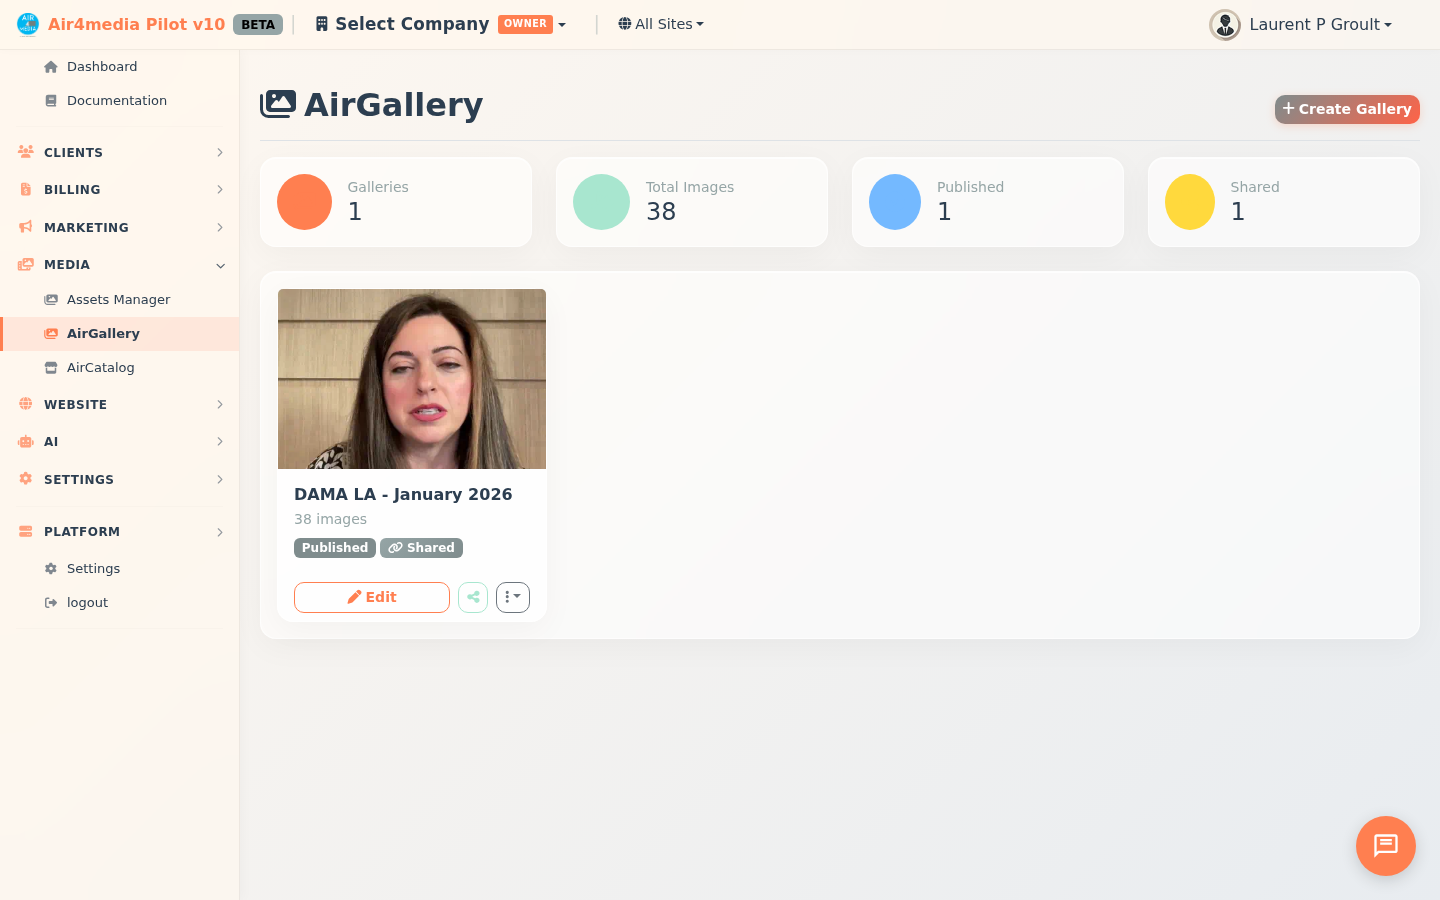
- Gallery Dashboard: Stat cards show total galleries, total images, published count, and shared galleries at a glance. Each gallery card displays its status (Published/Draft) with quick Edit, Share, and More actions
- Flexible Layouts: Choose Grid, Masonry, or Carousel with 2–6 columns, adjustable gap spacing, and aspect ratio options (Original, Square 1:1, 4:3, 16:9, 3:2)
- Asset Uploads: Drag and drop images, videos, audio, and documents (up to 100MB per file), or pick from your Asset Manager library. EXIF camera data, keywords, and copyright info are extracted automatically on upload
- Image Ordering: Drag images to reorder them in the editor; use bulk select to remove multiple at once. Star any image to set it as the gallery cover
- Per-Image Details: Set captions, alt text, credits, featured status, and visibility per image. View full EXIF data (make, model, ISO, aperture, GPS) in the image detail panel
- AI Captions: Generate captions for all gallery images at once with one click — uses AI credits from your account
- Share Links: Generate a public link with view-only, caption-editing, or full-edit access. Add optional password protection and an expiry date
- Email Invitations: Send a gallery link directly to a recipient's email with a personal message from the Sharing tab
- Download Options: Allow visitors to download individual images or the entire gallery as a ZIP file
- Display Options: Enable lightbox, captions, photo credits, EXIF data, watermarks, lazy loading, and choose pagination or infinite scroll
- Style Controls: Set background color, thumbnail size (small/medium/large), and hover effects (Zoom, Fade, Slide Up, or None)
- Gallery Index: Enable a public directory listing all published galleries for a site, with a custom URL, title, and description
How to Use
- Go to AirGallery in the sidebar and click Create Gallery
- Name your gallery — it opens in the editor as a draft
- Click Add Assets to upload new files or pick from your media library
- Drag images to reorder them; click any image to edit its caption, alt text, and visibility
- Open the Settings tab to configure layout, columns, spacing, aspect ratio, and display options
- Open the Style tab to set background color, thumbnail size, and hover effects
- Open the Sharing tab and click Generate Share Link to make the gallery public
- Copy the link or send it by email — recipients can view (and optionally edit) without logging in
- Set the gallery status to Published to make it live on your site
Tips
- Use Duplicate to start a new gallery from an existing one without rebuilding from scratch
- Enable Download All to let visitors save the full gallery as a ZIP — click Rebuild ZIP after updating images
- Set a share link expiry date for time-sensitive projects like event photos or client proofs
- Use AI Captions as a starting point, then refine individual captions in the image detail panel
- Assign each gallery to a site to keep work organized per client or project
- Enable the Gallery Index in the dashboard settings panel to create a public-facing directory of all active galleries for a site