Workflows
Workflows let you automate repetitive tasks in your CRM. Set up rules that trigger automatically when something happens — like a form submission or a signed contract — and define a sequence of actions to run in response.
Key Features
- Triggers: Start a workflow based on real business events (form submitted, quote accepted, invoice paid, appointment booked, and more)
- Multi-step Actions: Chain multiple actions together — send an email, create a task, update a status, add a tag — all in one workflow
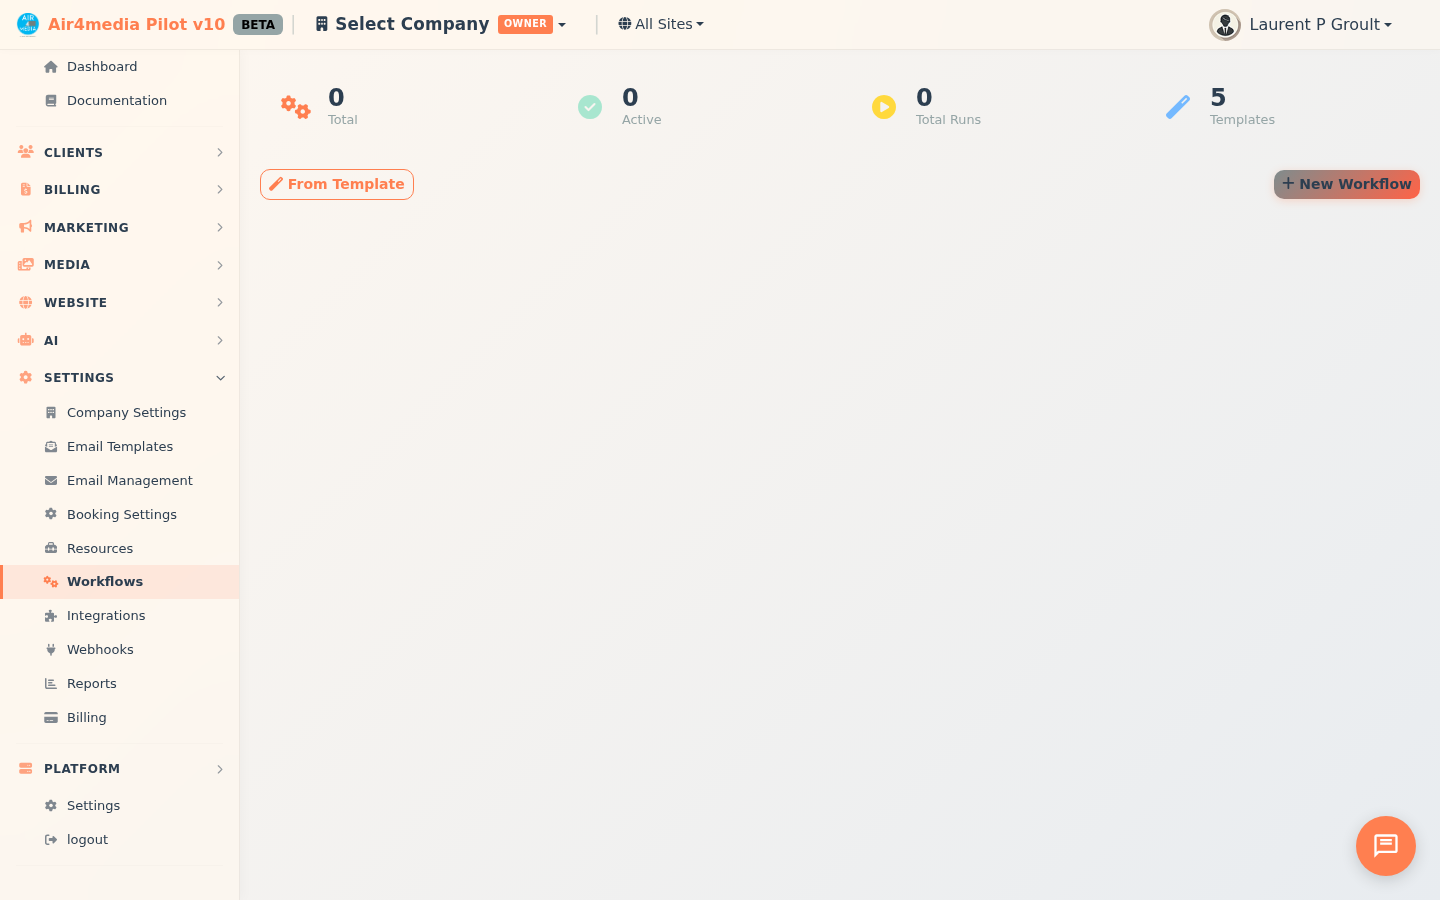
- Templates: Start from one of 5 pre-built workflow templates covering common business scenarios
- Toggle On/Off: Activate or deactivate any workflow without deleting it
- Run Manually: Trigger any workflow on demand using the Run Now button
- Live Stats: See how many times each workflow has run and when it last executed
How to Use
Create a Workflow
- Click New Workflow to open the editor
- Enter a name and optional description
- Choose a Trigger — the event that starts the workflow:
- Form Submitted, Lead Created, Quote Accepted, Contract Signed
- Invoice Paid, Appointment Booked, Tag Added, Status Changed
- Event Date Approaching, Scheduled, or Manual
- Add one or more Actions (executed in order):
- Send Email — send an email to the contact
- Send SMS — send a text message
- Create Task — add a follow-up task with a due date
- Change Status — update the status of a project, quote, or contract
- Add Tag — label the contact automatically
- Log Activity — record a note or event in the CRM
- Send Quote — dispatch a quote document
- Assign Resource — allocate a resource to a project
- Wait — insert a delay between actions
- AI Follow-up — generate an AI-assisted follow-up message
- Webhook — notify an external system
- Click Save Workflow
Use a Template
- Click From Template
- Browse the available templates:
- New Lead Follow-up
- Quote Accepted → Contract
- Contract Signed → Onboarding
- Invoice Paid → Thank You
- Appointment Booked → Confirmation
- Click Use Template to pre-fill the editor, then customize and save
Manage Workflows
- Edit — modify any workflow at any time
- Toggle — switch a workflow active or inactive without deleting it
- Run Now — execute a workflow immediately for testing or one-off use
- Delete — remove workflows individually or select multiple and delete in bulk
Tips
- Use variables in email subjects and task titles to personalize content automatically — for example,
{{contact.name}}inserts the contact's full name - Keep workflows focused: one trigger, a clear sequence of actions
- Use the Inactive status to pause a workflow during busy periods without losing your setup
- Check the Runs and Last Run columns to confirm workflows are firing as expected