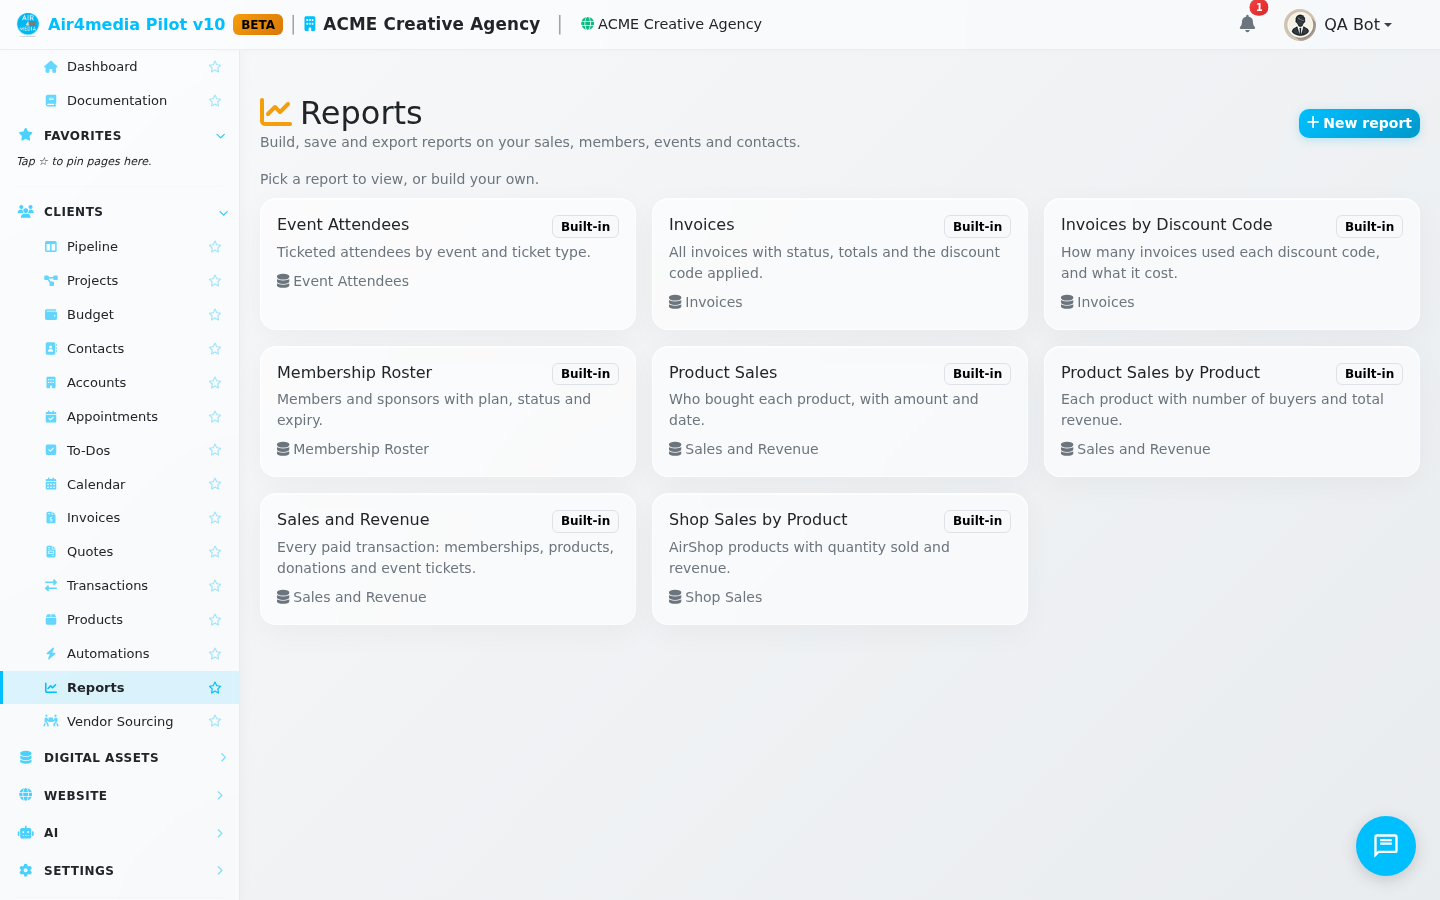
Reports
The Reports page gives you a live, searchable view of your account's key data — sales, invoices, memberships, events and contacts. ACME Creative Agency can pull up every invoice sent this quarter, see which membership plans are most popular, or get a full attendee list for a past event, then download any of it as a spreadsheet.
Key Features
- Six report types: Sales and Revenue, Shop Sales, Membership Roster, Event Attendees, Invoices, and Contacts. Each covers a different part of your account.
- Custom columns: Choose exactly which fields appear. No clutter — only the columns that matter to you.
- Summarize by group: Collapse rows into a summary. For example, group Shop Sales by product to see one row per item with total units sold and revenue.
- Date range filter: Narrow any report to a specific period using the From and To date pickers.
- Dropdown filters: Filter by status, category, or other attributes — for instance, show only paid invoices or only active members.
- Live search: Type to instantly find a contact, order, invoice number, or event.
- Save custom reports: Name and save any report configuration. It appears in your report picker for quick access next time.
- Export to CSV: Download up to 10,000 rows as a spreadsheet. Available to account owners and admins.
How to Use
- Open Reports from the sidebar. The picker shows all built-in reports plus any reports your team has saved.
- Click a report card to open it. Results load immediately — clicking Invoices shows ACME Creative Agency's full invoice list, newest first.
- Use the From and To date fields at the top right, then click Apply dates to filter by a date range.
- Click any column header to re-sort. Use the search box to find a specific name, email, or order number.
- Click Export CSV to download the current view — filters and date range are included in the export.
- To build a custom report, click New report (top right). Choose a data source, tick the columns you want, optionally pick a grouping and sort order, then click Preview to review the results.
- Give the report a name and click Save report. It appears under "Your saved reports" on the picker.
- To update or remove a saved report, open it and use the Edit or trash buttons in the header.
Tips
- The Summarize by option is ideal for totals at a glance — grouping Sales and Revenue by category instantly shows how much came from memberships versus event tickets.
- Built-in reports are always available and cannot be deleted. Use them as a quick starting point.
- Apply your filters and date range before clicking Export CSV — the download reflects exactly what is visible on screen.
- Saving and exporting reports requires an owner or admin role. Other team members can view reports but not download them.