FotoTrafiX
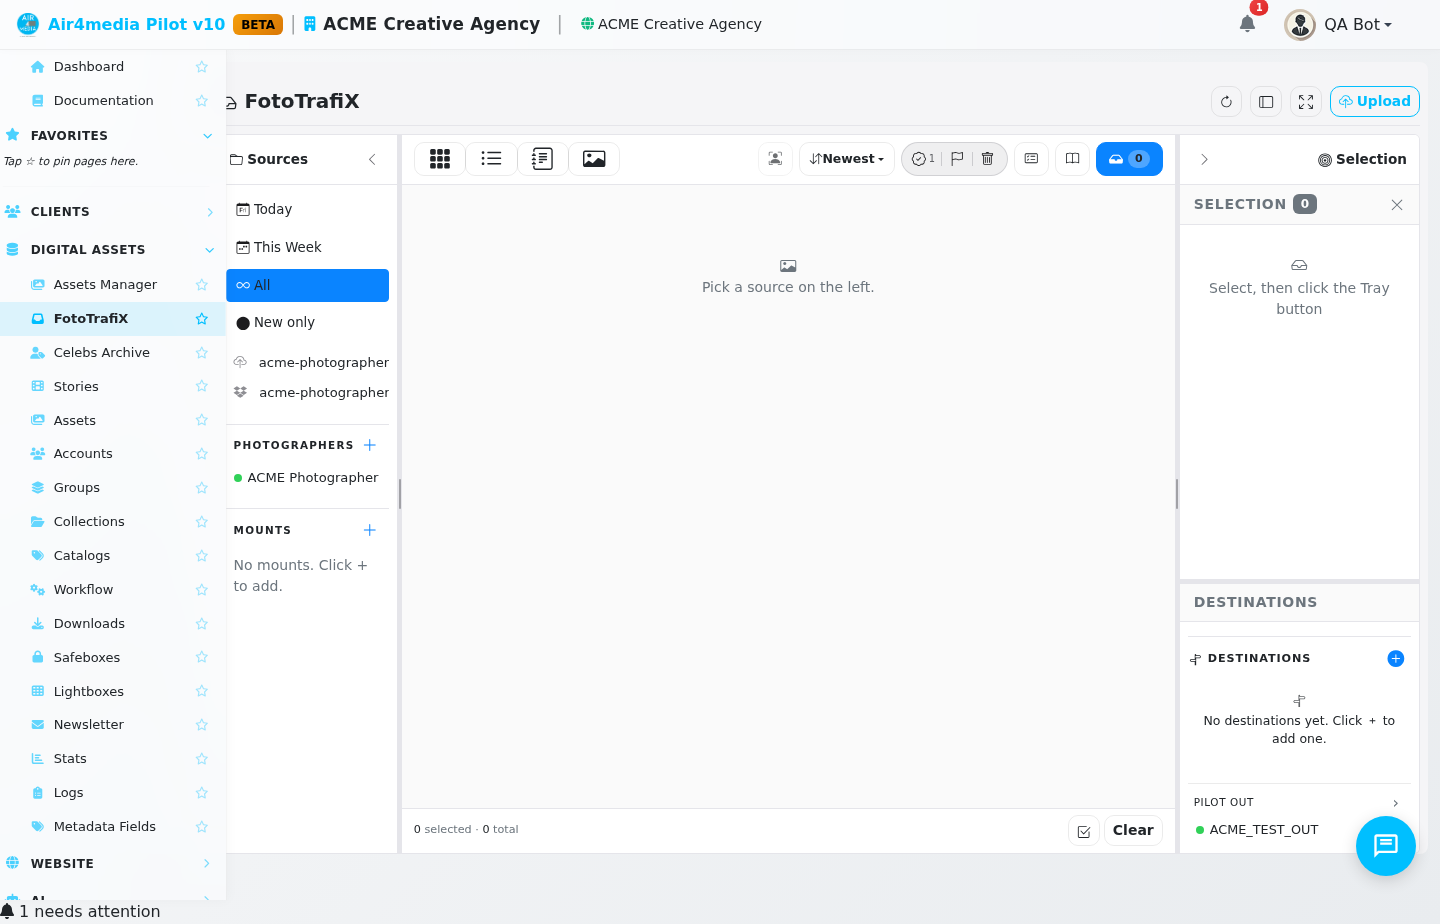
FotoTrafiX is ACME Creative Agency's central media ingest and review station. Files arrive from your photographers — via direct upload, FTP, Dropbox, or the FotoTrafiX field app — and land here first for culling, editing, and routing to the right destinations.
Key Features
- Multi-Source Ingest: Files from FTP drops, Dropbox sync, browser uploads, and the FotoTrafiX field app all appear in the left-side Sources tree, organized by date.
- Three-Panel Workstation: Browse sources on the left, review media in the center (Grid, List, Metadata, or Full-screen view), and manage your tray and delivery destinations on the right.
- Cull Mode: A fast full-screen review — press Space to pick, X to reject, Z to undo. Ideal for large deliveries where speed matters and you need to stay oriented.
- Face Lab: Detects faces automatically and matches them against your roster. Confirmed names flow into metadata fields like caption, keywords, and title.
- Image Editing: Adjust exposure, color, contrast, and crop directly in the browser. Apply named presets (Vivid, Warm, B&W, Film, etc.) or use individual sliders. The original file is never altered.
- Video Trim: Set an in-point and out-point visually to deliver a clean clip. Transcripts appear as captions when available.
- Metadata Templates: Save IPTC presets — for example, an "ACME Event — Los Angeles" template with credit line, copyright, and location pre-filled — and apply them to a whole batch with one click.
- Destinations & Delivery: Route photos to your Pilot DAM catalog, an FTP server, a Dropbox folder, or a client approval pool. Each destination has an on/off toggle so you control what's active per session.
- Client Approval Pools: Send a curated selection to named reviewers. Each person receives a private review link — no login required on their end.
How to Use
- Open FotoTrafiX from the sidebar and click a date folder in the Sources tree to load a delivery into the center panel.
- Review photos in Grid or Full view. Click Cull for a fast pick/reject session on large batches.
- Right-click any photo to set its status — Approve, Flag, or Reject — or use keyboard shortcuts (P / F / X).
- Add approved photos to the Selection Tray in the right panel using the tray button or the context menu.
- Choose one or more active destinations and click Send to route files to your catalog, FTP server, Dropbox folder, or client review pool.
- Switch to Metadata view to edit IPTC fields individually or apply a saved template before sending.
Tips
- The selection tray persists if you reload the page — you won't lose a batch in progress.
- Use Cmd+A to select all visible photos, then apply a batch status or template in one move.
- Color labels (Red, Orange, Green, etc.) are private workflow flags — they do not appear in delivered assets.
- Photographers configured with a rename pattern have their files renamed automatically on ingest, so no manual cleanup is needed.
- Use Archive Mounts to browse files in your existing storage without importing them — useful for re-delivering or re-cataloging older material.