Company Settings
Manage your company profile, invite team members, and configure email sending. Only company admins and owners can access this page.
Key Features
- Company Profile: Update your name, logo, contact email, phone, and website
- Company Logo: Pick from your asset library — appears on client-facing pages and invoices
- Company URL: Customize your subdomain (e.g.
acme-creative.air4.media) for your DAM portal and shared links - Current Plan: View your subscription tier — displayed with aviation-themed names (Economy, Business Class, First Class, etc.)
- Team Members: See all active members; owners can change roles or remove people
- Invitations: Send, track, resend, or cancel team invitations
- Email Accounts: Configure sending addresses for billing, notifications, campaigns, and more
How to Use
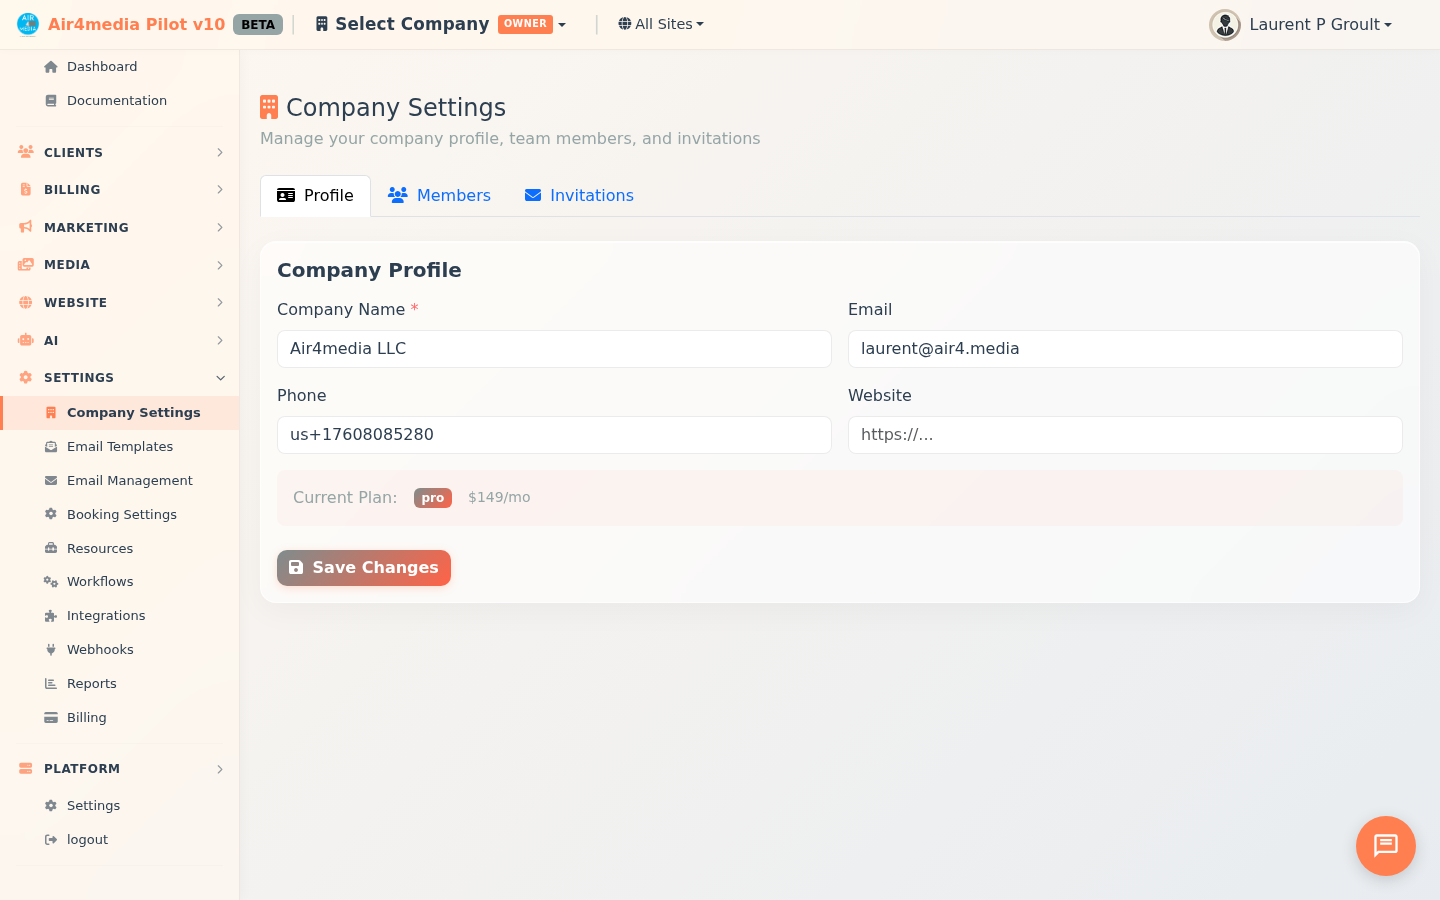
Update Your Company Profile
- Open the Profile tab (shown by default)
- Edit your company name, email, phone, and website
- To add or change your logo, click Choose from Assets and pick an image from your DAM library — click Remove to clear it
- Click Save Changes
Your active plan is shown below the form — for example, ACME Creative Agency might see "Business Class · $X/mo."
Change Your Company URL
- On the Profile tab, click the pencil icon next to your current URL
- Type a new address — availability is checked live as you type
- A green checkmark means it's available; a red message explains if it's taken or reserved
- Press Enter or click the checkmark to confirm
Only owners can change the company URL.
Manage Team Members
- Click the Members tab
- View each member's name, email, role, and join date
- As an owner, use the role dropdown to change any member's role (User, Editor, Admin, or Owner)
- Click × to remove a member
Only owners can change roles or remove members. Owners cannot be removed — change their role first.
Invite a New Member
- Click the Invitations tab → Invite Member
- Enter the person's email and choose a role:
- User — Basic platform access
- Editor — Can manage content
- Admin — Can manage members and settings
- Click Send Invitation
Existing users receive an Accept Invitation link; new users see Create Account & Join and are added automatically once they sign up. Links expire in 7 days — click the resend button to generate a fresh link.
Manage Pending Invitations
Each invitation shows its status: Pending, Accepted, Expired, or Cancelled. For pending invitations, click the resend icon to send a fresh link (resets the 7-day expiry), or × to cancel. The table also shows who sent the invitation and how many times it has been resent.
Set Up Email Accounts
Email accounts control which address your company uses to send invoices, notifications, and campaigns.
- Click the Email tab → Add Email Account
- Choose a purpose:
- Billing — Invoices, quotes, and payment emails
- General — Notifications and system emails
- AirMail — Newsletter and campaign sends
- Default — Fallback for everything else
- Enter a display name and from address
- Configure SMTP settings, or click Connect Gmail to link a Google account with one click
- Click Send Test to verify delivery, then Save
You can add multiple accounts — one for billing, another for campaigns, and so on.
Tips
- Invitations are tied to the exact email entered — the recipient must log in or register with that address
- If a pending invitation already exists for an email, use Resend rather than creating a duplicate
- Resending generates a fresh link and resets the 7-day expiry
- You cannot remove yourself from the company — transfer ownership to another member first
- If someone signs up with the invited email, they are added automatically without a separate Accept step