Calendar
Schedule and manage appointments with your clients, contacts, and projects — all in one place. ACME Creative Agency's upcoming calls, site visits, and project milestones all appear here in a single unified view.
Key Features
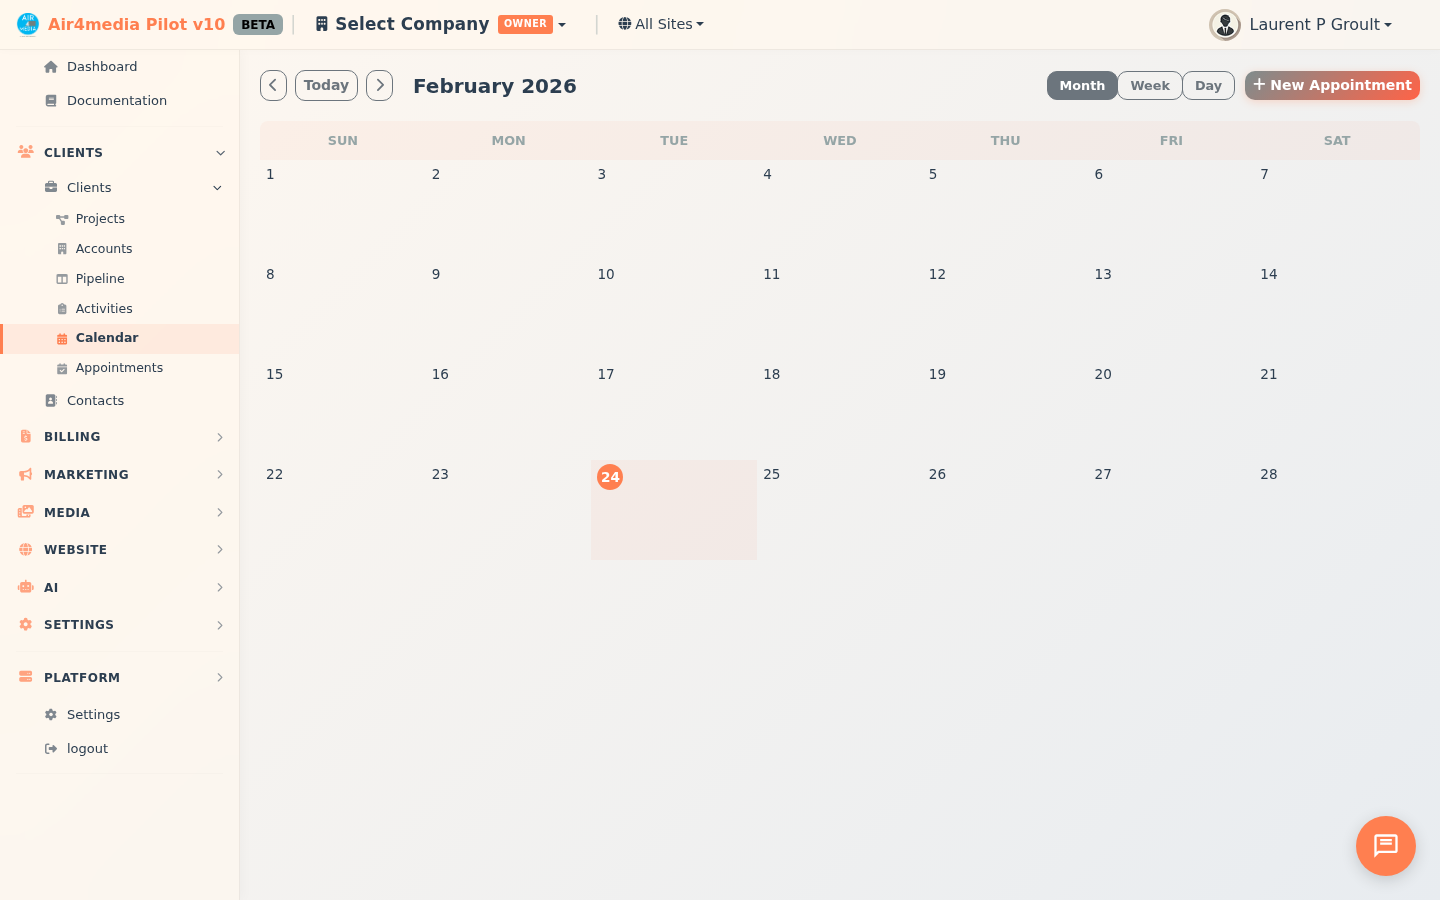
- Three Calendar Views: Switch between Month, Week, and Day views to see your schedule at a glance or in detail.
- Appointment Types: Categorize appointments as Consultations, Site Visits, Meetings, Calls, Demos, Follow-ups, or Custom. Each type has its own automatic color and icon for instant recognition.
- Status Tracking: Mark appointments as Scheduled, Confirmed, Completed, Cancelled, or No Show.
- All Day Events: Check "All Day Event" to create a full-day appointment without a specific time.
- CRM Links: Connect each appointment to an Account, Contact, and/or Project for full context.
- Location Options: Choose In Person (with address), Phone, Video Call, Google Meet, or Zoom. Virtual options reveal a meeting link field — Google Meet and Zoom can generate that link automatically when those integrations are connected.
- Google Calendar Sync: Two-way sync with Google Calendar keeps changes in both places up to date automatically.
- Color Labels: Override the default type color with one of 8 colors for quick visual identification.
- Reminders: Set a reminder 15 minutes, 30 minutes, 1 hour, or 1 day before the appointment.
- Project Timelines: Active project date ranges appear as color-coded spanning bars across the calendar. Click any bar to jump directly to that project.
- Project Milestones: Project milestone events appear as distinct calendar items, also linking back to their project.
- Online Booking: Share a public booking link so clients can self-schedule based on your availability rules.
How to Use
Viewing Your Calendar
- Open Calendar from the sidebar.
- Use the Month / Week / Day buttons to switch views.
- Click the arrow buttons to move forward or backward in time, or click Today to return to the current date.
- In Month view, click +X more on any day to switch to Day view and see all events for that date.
Creating an Appointment
- Click New Appointment — or click a day cell (Month view) or a time slot (Week/Day view) to pre-fill the date and time.
- Fill in the title, type, status, and start/end times. Check All Day Event if no specific time is needed.
- Optionally add a description and internal notes.
- Link the appointment to an Account, Contact, or Project.
- Choose a location type. Selecting Google Meet or Zoom reveals a meeting link field — the link is generated automatically on save when those integrations are connected.
- Pick a color and set a reminder if desired.
- Click Save Appointment.
Editing an Appointment
Click any appointment on the calendar to open it, update the details, and click Save Appointment.
Online Booking
Share your public booking link with clients so they can self-schedule. Availability rules — working hours, appointment duration, and buffer time between bookings — control when clients can book.
Tips
- Use Week or Day view to see exact appointment times side by side. Both views automatically scroll to 8 AM so your working hours are front and center.
- Project timeline bars span across days automatically — click one to jump straight to that project.
- Linking appointments to Accounts and Contacts keeps your CRM activity log up to date.
- Click any empty time slot in Week or Day view to open a new appointment already set to that time.
- Connect Google Calendar under Integrations to keep your schedule synced across both platforms.